The integration module allows administrators to perform bulk data initialization or updates.
- You can craft an excel template from a report and export data to store off the excel file.
- Use the same excel file to populate data and upload data to Calem.
- The sandbox is synced from production for upload test
- When the upload is ready for production, you may optionally sync again from production to sandbox for comparison after upload to production.

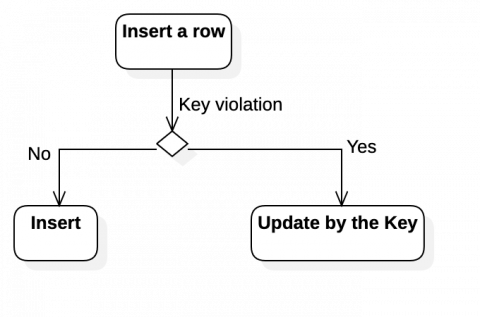
Rule 2. Data Upload is UPSERT
Data Upload is an operation of upsert, i.e, a row is inserted into a table first. If there is no key violation a new record is created. Otherwise, an existing record is updated.
1. Summary
Calem allows one to upload data in excel files.
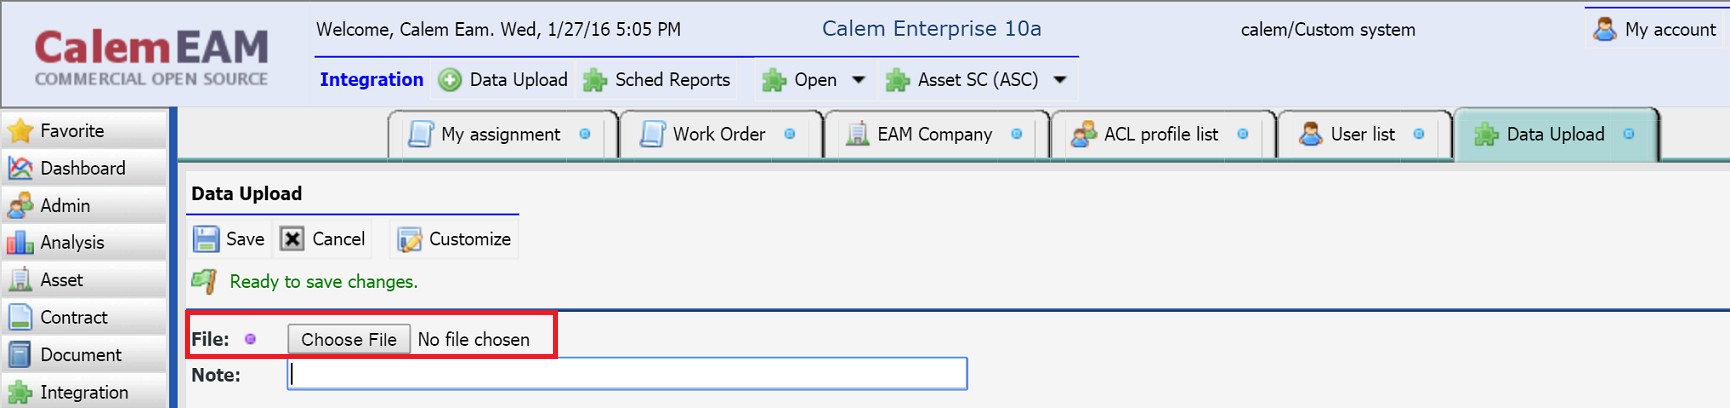
- Menu: Integration | Data Upload
- Excel template files for tables are provided by Calem. For instance, the blog Data Upload Part 1: Inventory Setup| Data Upload
- Excel template files for tables are provided by Calem. For instance, the blog Data Upload Part 1: Inventory Setup includes excel template files for inventory upload.
- Alternatively, a Calem report may be exported to Excel, updated, and upload back into Calem for data updates.
In Calem release R10 you can batch update data through data export and import. This is recommended approach to update multiple data rows.
Here are the steps:
- To update data the key correct field or fields must be included for upload to be successful.
- Use "Customize" button on a list report to turn a report into design mode. Right click on the list caption row to add or remove columns you need to upload to the list. So, the final list view should include all the fields you need to populate data with.
- See this blog for report list customization.
- Use a report list to export data to be updated. For instance, "Asset module | Report | Asset report list".
- Narrow down the list through search before exporting the list.
- If the report list does not include the fields you need to change or add. Customize the report list to include the fields you need (see this blog ).
- Edit the excel file and save changes.
- You may narrow down the columns to upload from your excel file.
- For instance, the excel includes Asset Tag (required to update an asset), class, and other fields in the screenshot below. If you only need to update class fields, the excel file can include only Asset Tag and class in the second excel screenshot below.
- Upload the edited excel file to the database. The menu path is "Integration module | Data Upload"


2.1 Evaluate Upload Results
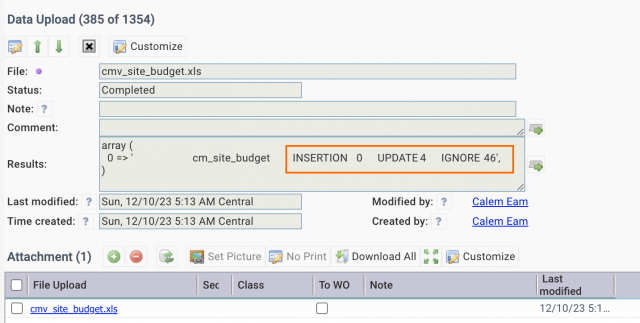
One should evaluate upload results after an upload is completed.
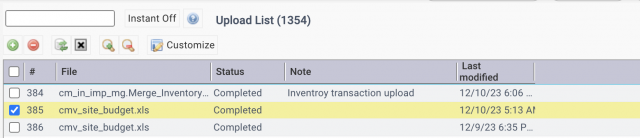
- Go to Integration | Upload List, click the row to view the upload results.
- The results show rows inserted, updated and ignored.
- The rows ignored mean that the rows are the same as the ones in the database. So, no changes are made.
3. Null Value
A null value means no value in a database field. One can set a database field to null in Calem by "_null_" (underscore, "null", underscore).
- A lookup field can be set to null (such as the parent Id of an asset).
- A string field can be set to null (such as the description of an item)
- A numerical value can be set to null (such as an asset's weight).
- A datetime field can be set to null (such as an asset's start date).
Each record in Calem has an "Id" field. The "Id" field uniquely identify a data row. You may include the "Id" field in your export if you need to modify the key fields of a row. For instance, if you have to change item numbering or asset tags, you need to include the "Id" field in the export so Calem knows which row to apply the key field changes such as item number and asset tag.
5. Data Validation Configuration
By default Calem Enterprise Upload utility will verify lookup values and will fail the upload if a lookup value is invalid. For instance, a location of an asset is not found in Calem when uploading an asset with a reference to that location. Calem will fail the upload.
Alternatively, you may turn off the data validation so that Calem will create missing lookup values. If the creation is successful the upload will go through successfully.
Here is the recommendation about the data validation configuration:
- The data validation should be left enabled by default all the time. This is important so data would not be added to your service by accident. For instance, a location "Server-Central" was misspelled as "Server_Central", a new location "Server_Central" will be added if the validation was turned off.
- You may turn off validation at initial data population, or bulk data creation. This will be a saving if you let Calem add missing lookup values initially. For instance, you are upload a user with job role "Electrician", instead of manually creating "Electrician" before a user can be uploaded, you may have Calem create "Electrician" in the job role object automatically by turning off the data validation.
//Lookup reference validation is required (true), or auto-added (false)
$_CALEM_dist['calem_data_upload']['validate_ref_id']=true;
Customers of CalemEAM can reference "Calem Enterprise Data Upload Guide" at Support Site for more information.
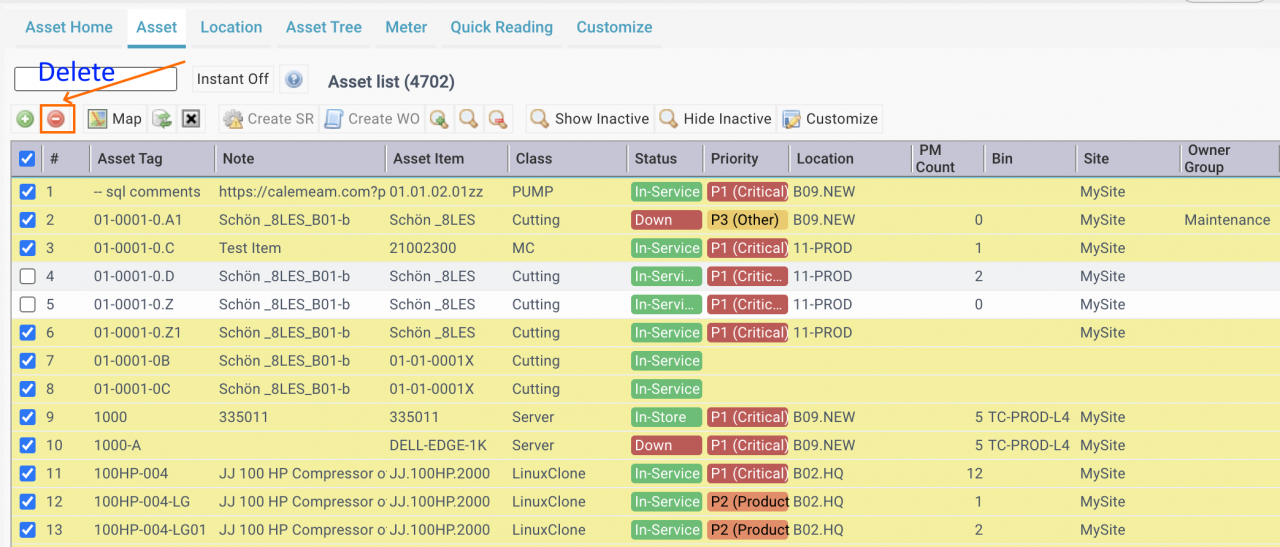
6. Delete Data
If data is uploaded by mistake, there is no way to roll back the upload. So, it is better to follow Rule 1 above, i.e., uploading in Sandbox first, when all checked out, uploading in Production. The only option is to go to the data forms and delete data from there. For instance, you can multi-select assets to be deleted.
- Data deletion may be blocked by reference dependencies.
- One has to manually remove dependencies before deletion can be successful.
- See this blog for an example of deleting items.
7. Data Links in Excel
Data links may be introduced in a worksheet when building out a worksheet by copy/paste from other worksheets. The links must be removed for an excel sheet to be used for upload.
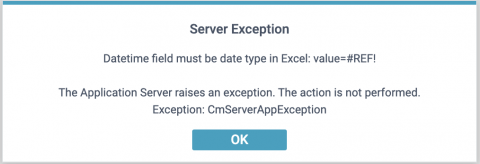
- An error message of data type error (including "value=#REF!" is an indicator that cells are data links.
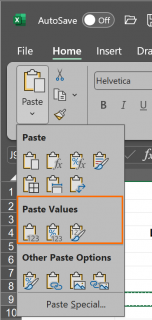
- "Paste Values" may be used when populating cells by copy/paste from worksheets in the same excel file or other excel files. A default paste may use data links while "Past values" does not.
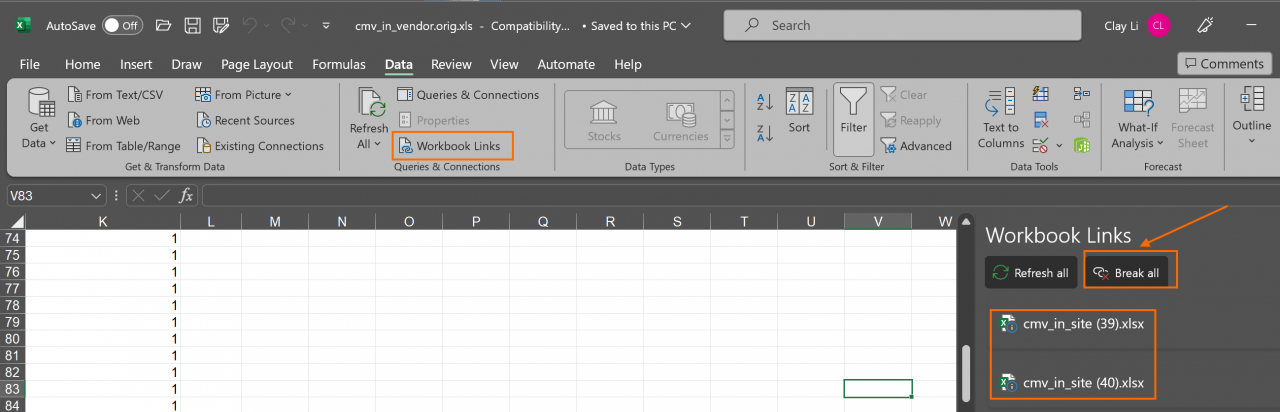
- Use Data | Workbook Links to check if external links exist. If external links are shown, use "Break all" to remove them all.
- Once links are removed, verify a worksheet, and then, upload to Calem.
8. Hidden Characters
Hidden characters are ones that do not display. For instance, control characters such as number 2 or STX is not visible.
- Hidden chars may exist in excel sheets. When the excel sheets are uploaded to Calem, the hidden chars may be added to the database.
- They may be entered into Calem data fields by copy/paste from a source of text with hidden chars.
- They may cause data editing in Calem to fail.
Here is an example to identify and delete a hidden character.
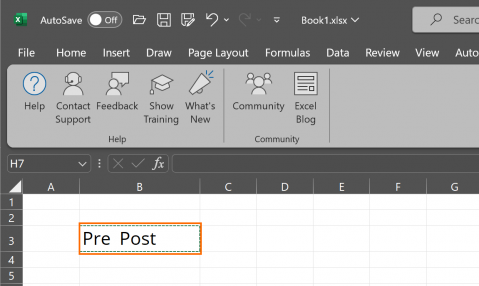
- Copy a text with suspected hidden chars from Calem data field or an excel cell. The text "Pre Post" has a hidden char in the excel file below.
- Paste the text to Notepad++. Notepad++ can be downloaded from https://notepad-plus-plus.org/.
- Enable Notepad++ to show invisible chars. The "STX" hidden char is shown.
- You may use the tips below to delete hidden chars, or replace with a visible char such as "-" or "_".
Additional Resources
- Data Upload Part 1: Inventory Setup
- Data Upload Part 2: Asset and Location
- Data Upload Part 3: Preventive Maintenance
- Data Upload Part 4: Vendors and Prices
- How to Customize a Report List
- Data Upload Guide (Customer account required)
- User Guide and Admin Guide (customer account required)
- Calem Enterprise Training Site
- Calem Enterprise Blogs
- Calem Enterprise demo